

This
tutorial was created with PaintShop Pro X4 but can be done with other
versions and/or programs.
Supplies:
Artist's
Tube of choice: I am using
“Zoe”, the PTU work of Roman Zaric. Please DO NOT use his images
without the proper license. You can find this tubes HERE
Scrap
Kit of choice: I am using the
wonderful PTU kit Citrus Bleu by BLT Dezignz. You can find this kit HERE
Fonts
of choice: I am using FFF Harmony for the © and Mon Amour Script for the name.
Filters
of choice:
DSB
Flux – Bright Noise
Penta
– jeans and Color Dots
Tag
Template: Made by yours truly
HERE
Ok,
grab a cup of joe, and a snackie, and let's go!!
Please
remember to SAVE your work often, RENAME
your layers, and if you feel you have really messed up.... Remember
that UNDO is your bestest friend!!
Open
up my templage. Shift + D to duplicate it. Close the original. Delete
the credit layer, and if you choose the shadow layers.
Increase
canvas size to 900 x900.
I
close all the layers when I start, and open them up as I go. You can
do the same. It's up to you. Remember to close all layers that you
don't want to merge while merging visible.
We
are going to work from the bottom up..
Click
on “Blue Rectangle” in the layers palette.
Selections>Select
All>Selections Float>Selections>Defloat.
Effects>Plugins>
DSB Flux>Bright Noise with Intensity set to 100 and Direction set
to Mix.
Selections>Select
None.
“White
Texture Layer” layer.
Selections>Select
All>Selections Float>Selections>Defloat.
Open
PP01. Edit>Copy. Close.
Edit>Paste
Into Selection.
New
raster layer.
Open
PP03
Edit>Paste
Into Selection.
I
mirrored and flipped the paper because I wanted more of the design on
top.
Set
Blending Mode of this layer to Multiply.
Close
off bottom layer in the layers palette Right click on active layer.
Merge>Merge Visible.
Selections>Select
None.
“Right
Rotated Rectangle” Layer
Selections>Select
All>Selections Float>Selections>Defloat.
New
raster layer.
Open
PP05. Edit>Copy. Close.
Edit>Paste
Into Selection
Set
blend mode to Luminance Legacy
Selections>Select
None.
Make
sure all other layers are closed and Merge Visible.
“Hearts”
layer.
Selections>Select
All>Selections Float>Selections>Defloat.
DSB
Flux – Bright Noise. Change to 67.
Selections>Select
None.
Getting
the hang of this? Awesomeness!!! Keep going with the same steps as
above with whatever papers and/or colors that you want. If you use a
solid color, use your paint bucket tool to flood fill the selection
with whatever color you want. Play around with the blend modes.
Stop
after you apply effects to your Circle. Merge Visible. Deselect.
Copy
and paste your tube. Leave it at it's original size and position
Zoe's face so that it sits within most of the circle.
Click
on your circle layer. Select all float defloat. Selections>Invert.
Click on the tube layer and hit Delete on your keyboard.
*TIP*
I don't know why, but sometimes
after you have hit delete, some of the image clings to the edges of
canvas. I don't know how to stop this from happening, so I just take
my eraser tool around the edges of the canvas. If you know how to fix
this drop me a message.... please.
Click
back on your circle layer. Invert.
Go
to your plugins and apply Penta.com>Jeans, play with the settings
until you are happy with how it looks.
Deselect.
On
your tube layer, apply Penta>Color Dots at settings of choice.
Change
the layers blend mode to Luminance Legacy.
“Circle
Dash” Layer
Change
blend mode to hard light.
Merge
Visible circle, circle paper layer, tube layer, and circle dash
layer.
Add
whatever effects to your leaves.
Copy
and paste your tube once more, and resize it to your hearts content.
Position
where you would like.
Duplicate.
On
the bottom layer apply Xero – Porclain at default settings.
On
top layer give it a gaussian blur of 2 and lower the opacity down to
what you like best. I did mine down to 30%
Now
add any elements that you wish to add. Play around with rotation,
placement, and layering. Don't forget to name your layers.
Take
a last look at your tag. Place drop shadows on layers of your
choosing, I usually like chunky soft shadows.
Unhide
your word art layer. Link layers together by clicking on one the text
layers, CTRL + click on the second layer (this is the shadow layer
for those who chose not to delete it.) and then click on the chain
link icon in your upper layer palette. Dont worry about linking if
you chose to delete your shadow layer.
Position
your word art.
Make
sure all layers are closed except your word art.
Merge
Visible. Close layer.
Open
the tube and the duplicate tube.
Merge
Visible. Close layer.
Keep
the text, tube, hearts, and blue rectangle layers closed.
Open
all other layers and merge visible.
Apply
Xero – SoftMood at the default settings.
Open
the rest of your layers.
With
your eraser tool. Erase parts of the hearts layer that you do not
wish to be seen.
Add
your Name with whatever effects you would like and your © info. Crop and resize.
Export
as PNG and you are finished!! Wooo Hooo!!
This
tutorial was created by me, Mary Oakes aka Ariez Moon, on 00/00/2014.
Any similarity to any other tutorial is purely coincidental. Please
abide by my TOU and the TOU of Artists and Designers that you may
use.
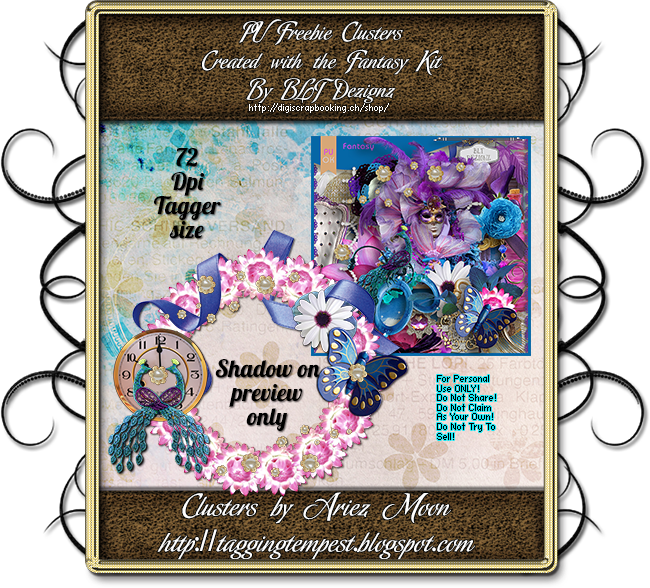
Ok, Now for the FTU stuffies! Snags can be found HERE go to Photo Albums and click on mine. For the cluster frame...Click on the preview to download and please leave me some love in Cbox over on the right :) Remember to follow my TOU.

I
hope you all enjoyed this tutorial, and I hope that I did not do too
bad of a job writing it. If you have any problems, questions,
comments, or suggestions just give me a hollar in my Cbox, or connect
with me on FB. I will get back to you as fast as I can.
Ok, Now for the FTU stuffies! Snags can be found HERE go to Photo Albums and click on mine. For the cluster frame...Click on the preview to download and please leave me some love in Cbox over on the right :) Remember to follow my TOU.
Tag Template Preview
As
always, Happy PSPing.... and Photoshop too :) !!

No comments:
Post a Comment